Hey crafty friends! Today, we’re getting our hands dirty by learning how to make DIY gift boxes from scratch. These boxes are perfect for any occasion, whether you’re giving a gift to a loved one, wrapping a special treat, or creating unique packaging for your handmade products.
Why Make Your Own Gift Boxes?
There are many reasons to make your own gift boxes:
- Personalization: You can customize the boxes to match the recipient’s personality or the occasion.
- Sustainability: You can use recycled materials to create eco-friendly boxes.
- Cost-effective: Making your own boxes is often cheaper than buying them in stores.
- Creative Outlet: It’s a fun and creative way to express yourself.
What You’ll Need
- Cardstock: Choose a sturdy cardstock that won’t easily tear or bend.
- Scissors or a craft knife: For cutting the cardstock.
- Ruler: For measuring and cutting straight lines.
- Bone folder: For folding the cardstock.
- Glue: For attaching the sides of the box.
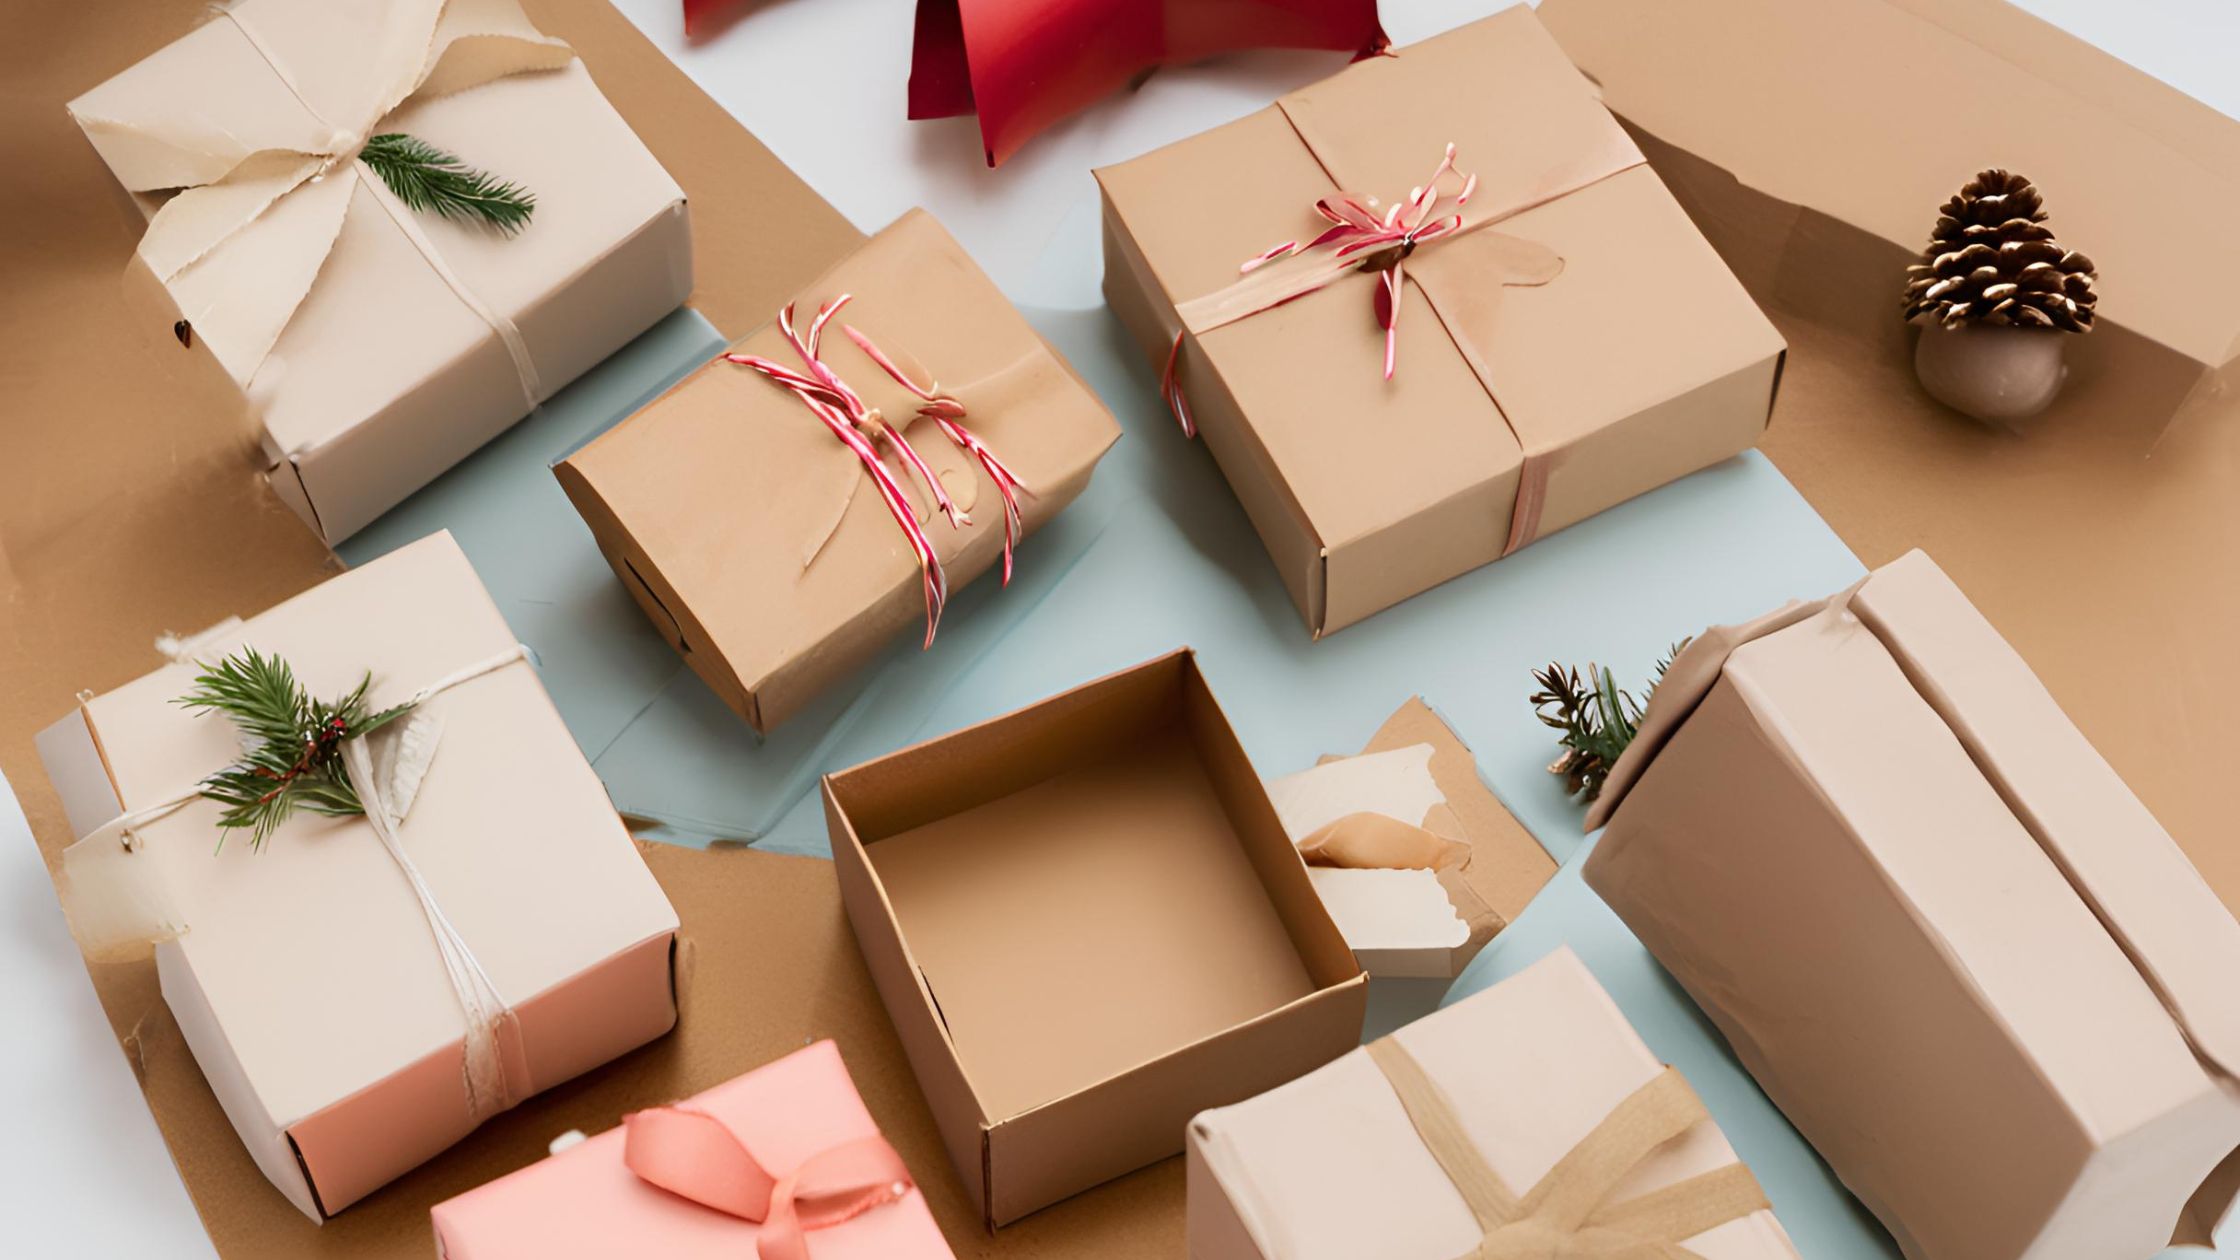
- Decorative embellishments: Optional, but you can use ribbon, twine, stickers, stamps, or other embellishments to decorate your boxes.
Instructions
- Choose a Box Design: There are many different box designs you can choose from. Some popular options include:
- Square box: This is a classic and versatile design that can be used for any occasion.
- Gift box with lid: This is a great option for wrapping gifts that are taller than they are wide.
- Gift bag: This is a fun and easy option that is perfect for small gifts.
- Pillow box: This is a unique and elegant option that is perfect for jewelry or other small gifts.
- Find a Template: Once you’ve chosen a box design, you can find a template online or in a craft book. You can also create your own template by drawing the box design on a piece of paper.
- Cut Out the Box Pieces: Cut out the box pieces from the cardstock according to the template.
- Fold the Box Pieces: Fold the box pieces along the score lines.
- Assemble the Box: Glue the sides of the box together.
- Decorate Your Box: Add any desired embellishments to your box.
Tips for Success
- Use a sharp craft knife or scissors to cut the cardstock.
- Fold the cardstock carefully along the score lines.
- Use a strong glue to attach the sides of the box together.
- Get creative with your decorations!
Additional Resources
Here are some additional resources that you may find helpful:
I hope this blog post has inspired you to make your own DIY gift boxes. Once you learn how to make DIY gift boxes from scratch you will really be on your way to mastering the art of crafting. With a little creativity and effort, you can create beautiful and unique boxes that will make your gifts even more special.
Ready to share your creations and connect with other passionate crafters? Head over to our Facebook page where the fun never ends. Like my Facebook page and become part of the Crafting With Yolie family!